| Chassis ID |
Path |
|
565/Description, Design and Function//Air Tubing and Fittings |
| Model |
Identity |
| TE |
142060236 |
| Publish Date |
ID/Operation |
| 6/1/2018 |
|
Air tube fitting
Air tube
Air tube, material
Nylon pipe, construction
Rubber hose, construction
Pneumatic quick fittings
Types of pneumatic quick fittings
Fitting system
Push in fitting system, construction
Swivel and building block fitting system, construction
Tube, removal
Tube, installation
Air tube fitting
Air tube
Air tube, material
The air tube is made up of polyamide material, commonly known as nylon.
To carry the compressed air between components with no or relatively less movement, nylon pipes or
rubber hoses are used. To carry the compressed air between components with relatively more
movement, only rubber hoses are used.
Nylon pipe, construction
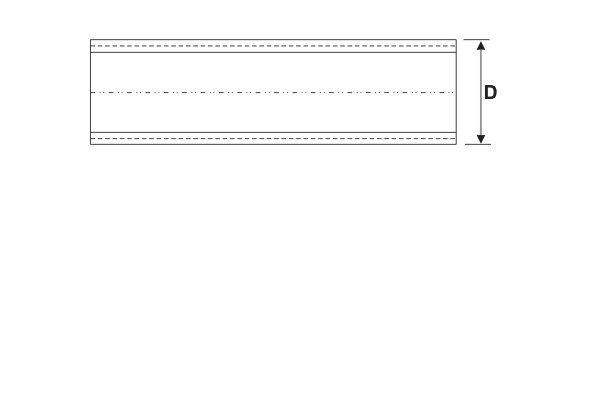
The nylon pipe is a solid core with single ply extrusion. The nylon pipe with outer diameter (D) greater
than 6.35 mm, is a solid core covered with protective colored layers with fiber reinforcement between the layers. The cover is resistant to heat and sunlight.
Air tube, material
The hose is about three layers of rubber and reinforcement. The rubber hose is cut to a specific
length and fittings are crimped on both ends.
Pneumatic quick fittings
Types of pneumatic quick fittings
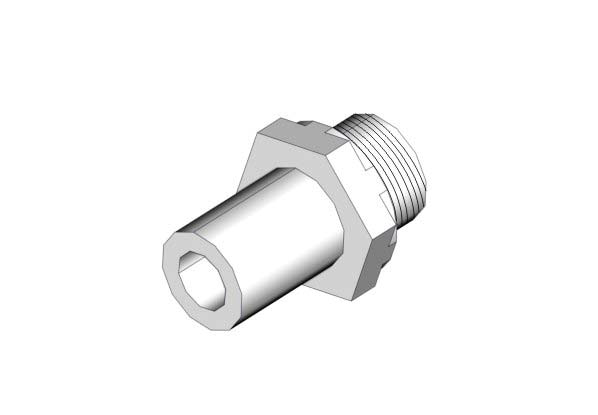
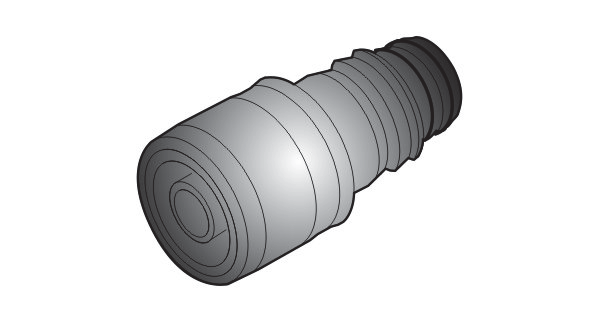
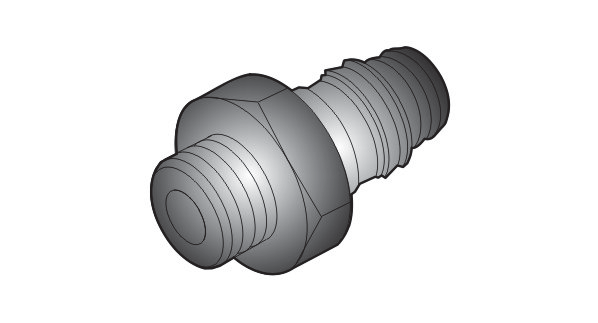
- Brass fitting with insertable fitting and threads.
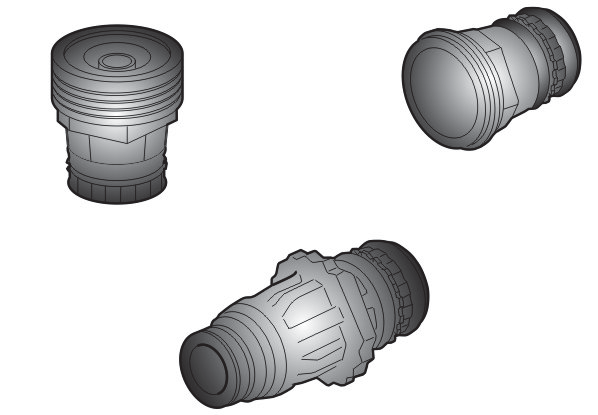
- Plastic fitting with insertable fitting for assembling the components without threads like footbrake
and solenoid valve.
- Plastic fitting with insertable fitting without threads for assembling the building block and swivel
element with thread.
- Insertable fitting which is assembled directly to the swivel element.
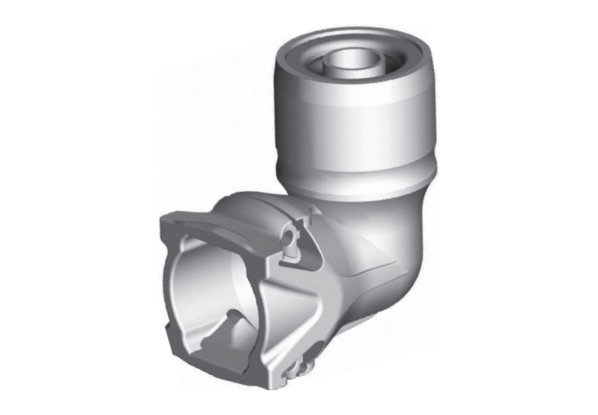
- Brass or plastic swivel fitting used for connecting building blocks.

- Brass or plastic plugs used for plugging the ports and connections that are not used.
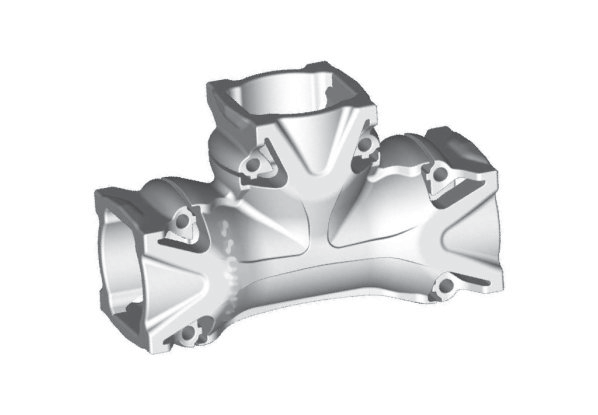
- Plastic building blocks used for connecting various fittings.
- Test nipple used to measure pressure in the pneumatic system.
- Connecting swivel used for connecting fittings with building blocks.
Fitting system
Push in fitting system, construction
Push in fitting system, overview
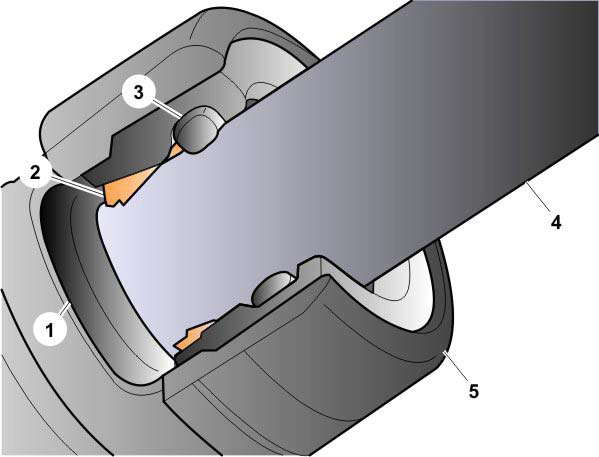
| 1 |
Main seal |
| 2 |
Grip ring |
| 3 |
Dust seal |
| 4 |
Polyamide tube |
| 5 |
Fitting |
The fitting (5) consists of a dust seal (3) to prevent the entry of dust and other contaminants.
The fitting (5) also consists of a check valve (6) which allows the air to escape when the fitting is
under pressure. The check valve (6) also ensures that the tube is properly inserted into the fitting.
Note: the tube is not properly fitted, there will be leakage of air.
The fitting has a plastic arm (7) which breaks when the tube is installed properly.
Note: A clicking sound will be heard when the tube is installed properly for first time.
Note: The fitting can be used a maximum 5 times either for removal or installation.
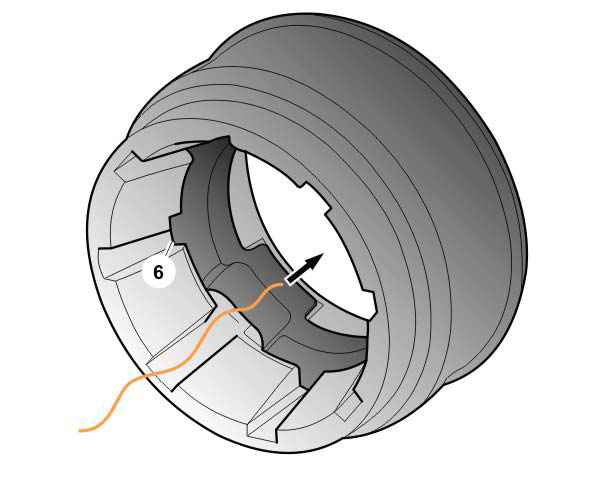
Swivel and building block fitting system, construction
The building block (9) has plastic clips (10) on either side which locks the swivel (8).
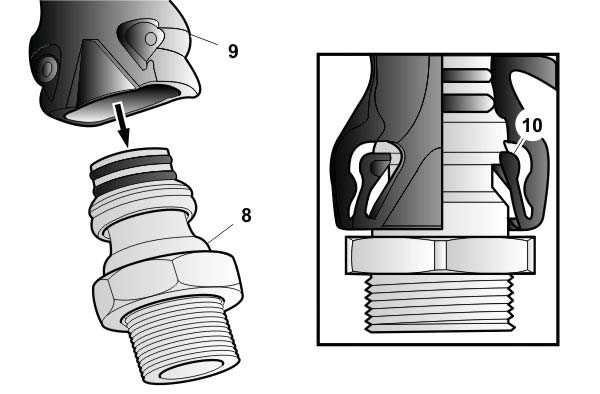
| 8 |
Swivel |
| 9 |
Building block |
| 10 |
Plastic clip |
Air leakage between swivel and building block
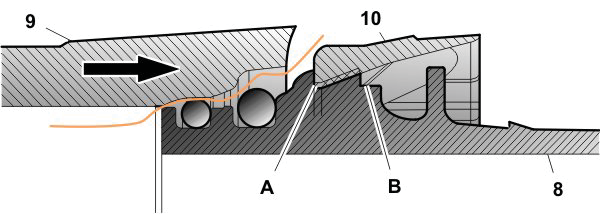
| A |
The fitting is locked but is not sealed. |
| B |
The fitting is locked and sealed |
Leakage of air at (A) indicates that the assembly is not fitted properly.
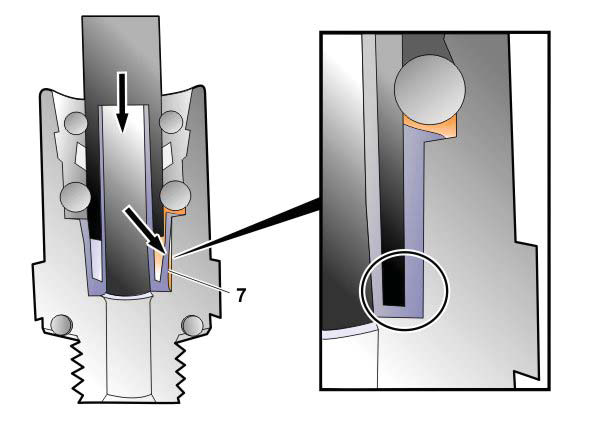
Tube removal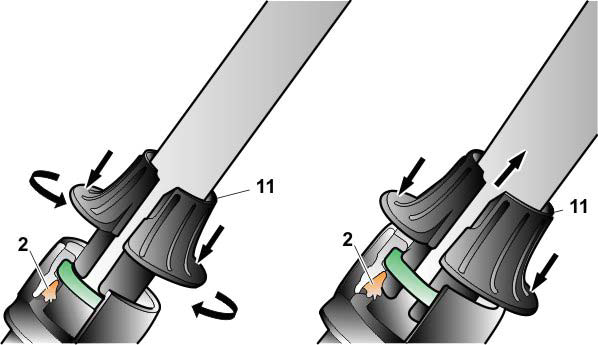
To remove the tube, a release tool (11) is used.
Position the tool on to the tube.
Push the tube into the fitting.
Rotate and push the tool to secure it fully into the fitting.
The tool will open the grip ring (2) and prevents the locking of the tube.
Note: The tool should be pressed against the fitting during the tube removal process.
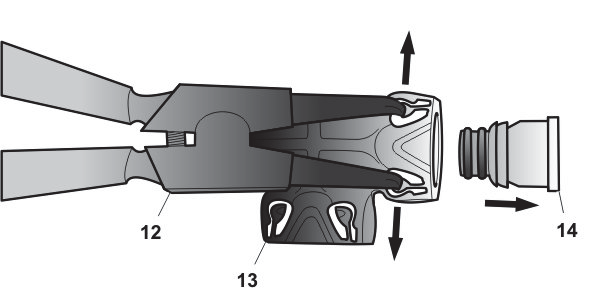
Standard snap ring pliers (12) are used to disassemble the swivel (14) and building block (13) .
While replacing the components like valves, air reservoirs or air bellows, the fittings can be removed along with tube.
Check the condition of O-rings on the fittings.
Note: Ensure that the O-rings are seated properly on the fittings before installing.
Note: If necessary, replace the O-rings.
Tube, installation
Install the fitting on to the component.
Note: Ensure that the component is fixed firmly.
Note: Ensure that the tube is free from dust and other contaminants.
Note: Ensure that there is no visual damages to the tube.
Note: Ensure that the tube ends are straight.
Note: Ensure that the tubes are fitted straight into the fittings.
Torque tighten the fittings.
| Tightening torque |
| Air tube fitting |
| 1. |
M10x1
15 ±3 Nm
(11 ±2 lbf⋅ft)
|
| 2. |
M12x1.5
25 ±5 Nm
(18 ±4 lbf⋅ft)
|
| 3. |
M16x1.5
40 ±8 Nm
(30 ±6 lbf⋅ft)
|
| 4. |
M22x1.5
40 ±8 Nm
(30 ±6 lbf⋅ft)
|
|
| Tightening torque |
| Air tank, drain valve |
M12
17 ±3 Nm
(13 ±2 lbf⋅ft)
|
Push the tube into the fitting until it stops.
Note: A clicking sound will be heard when the tube is installed properly for first time.
Note: The fitting can be used a maximum 5 times either for removal or installation.
Note: Ensure that the tube is fitted properly into the fitting by pulling the tube.
Check for leakage.